Enable Static NAT
Last updated: November 26, 2024
- Navigate to https://gateway00.americancloud.com:8443/client
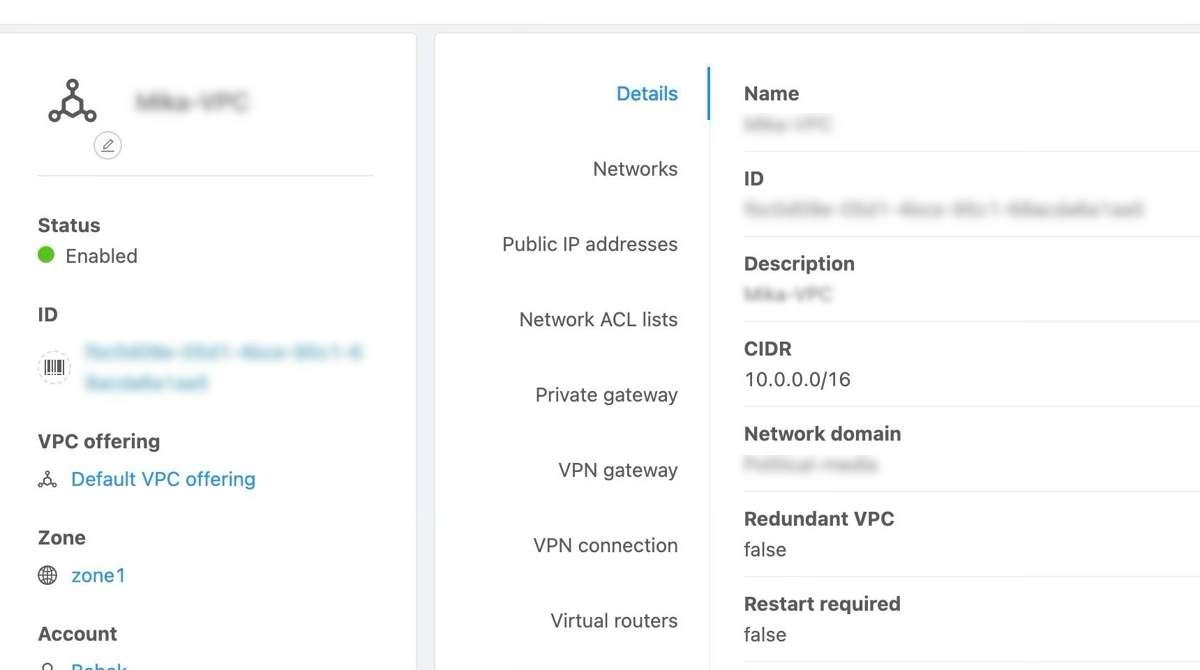
- This is the VPC you built. Which looks good.
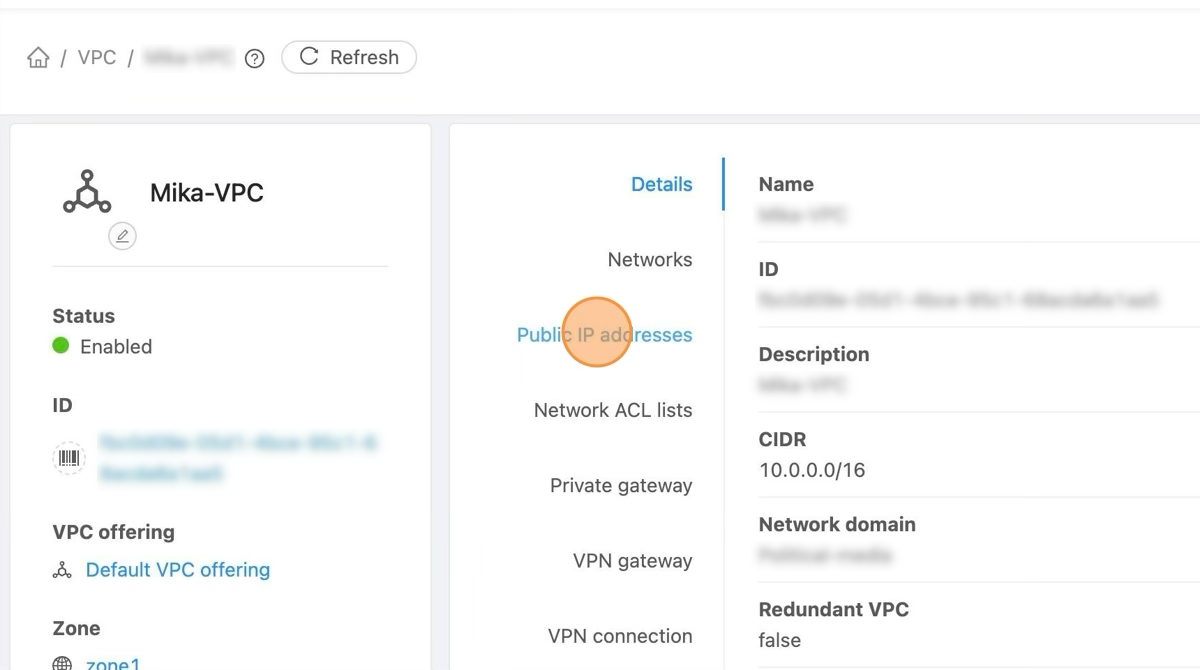
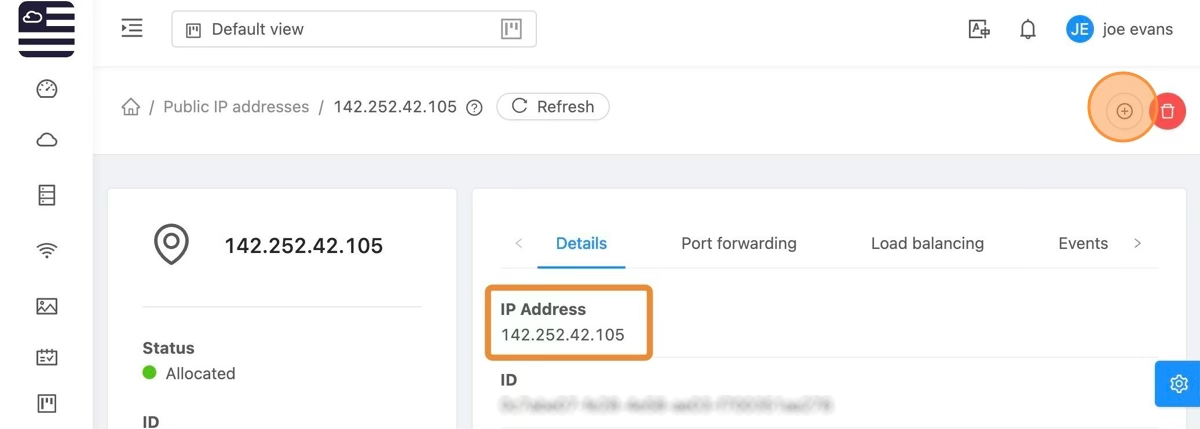
- Click "Public IP addresses" to list the already allocated IP Addresses.
- The below image identifies the IP addresses available. One is identified as source nat. Leave that one as is. The other can be utilized as needed.
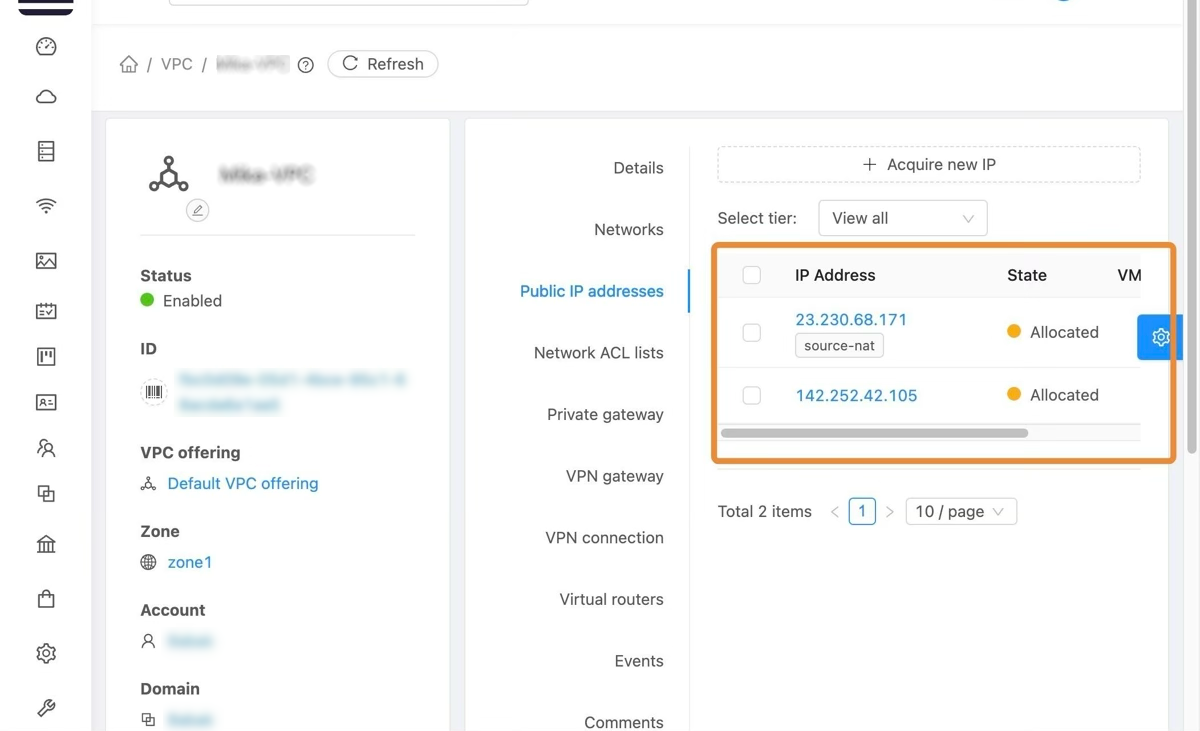
- We'll select the IP not being utilized.
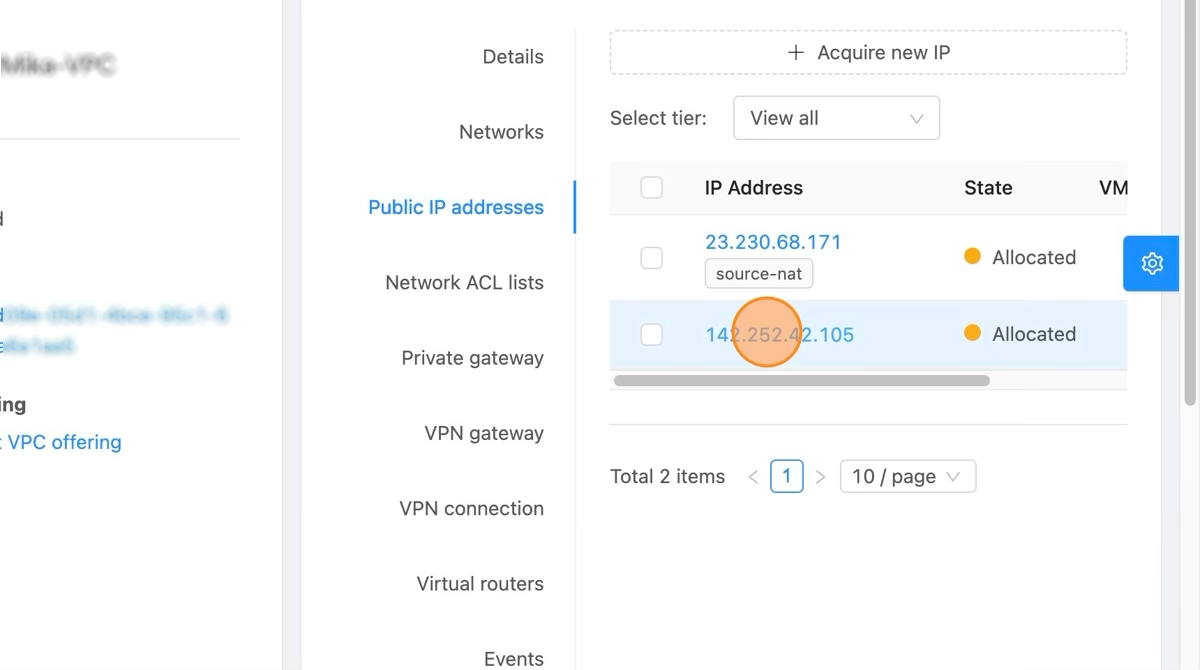
- That will bring us to the IP management page. We can assign an IP by selecting the '+' icon in the upper right as depicted.
- Once selected a list of currently running vm's will appear. Simply select the VM to enable static nat for.
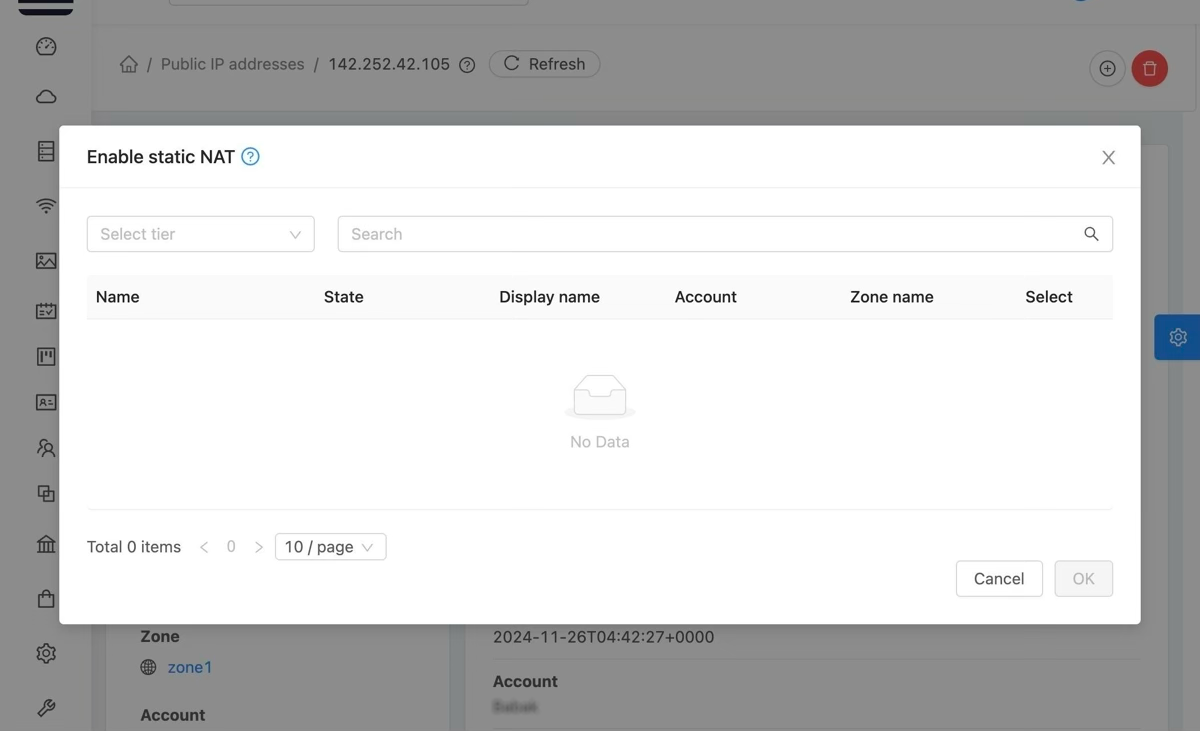
There are no VM's listed above b/c you've not built any or have destroyed what you had built.
Unique IPs
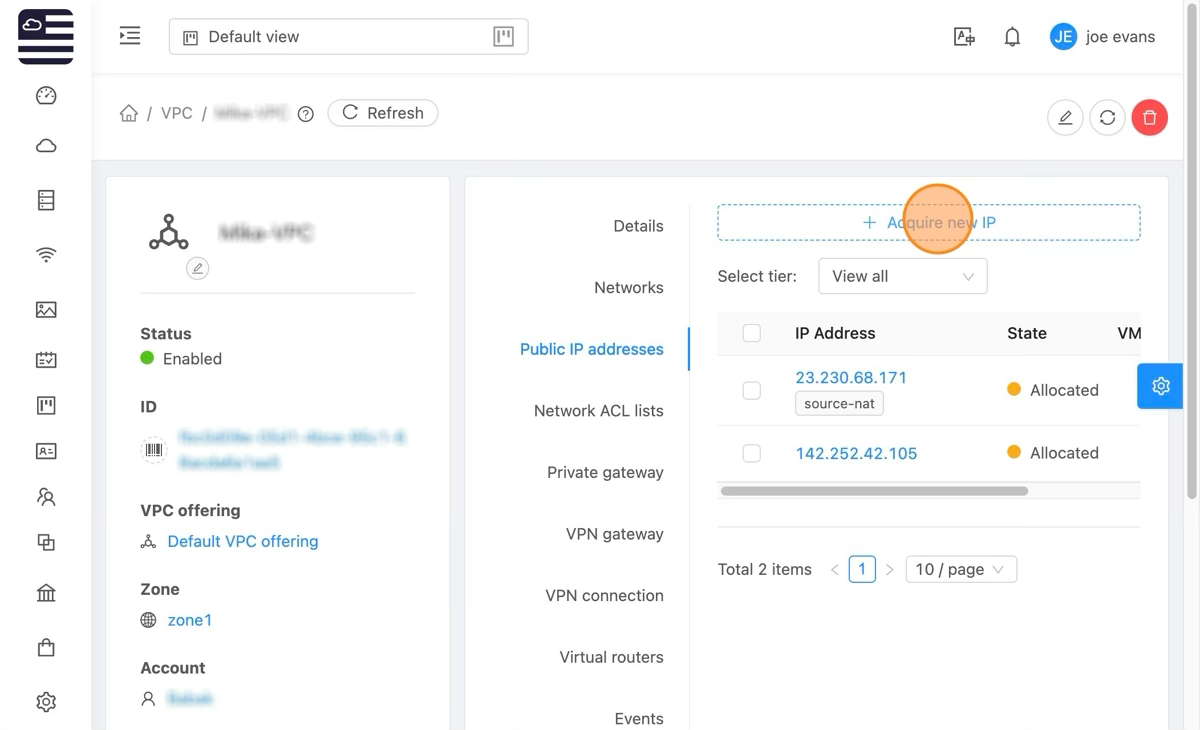
- If you'd like multiple servers with unique IP's, to acquire a new IP click "Acquire new IP"
- The system will automatically select the first available IP for distribution. By selecting the drop-down arrow you can select from a list of available IP addresses.
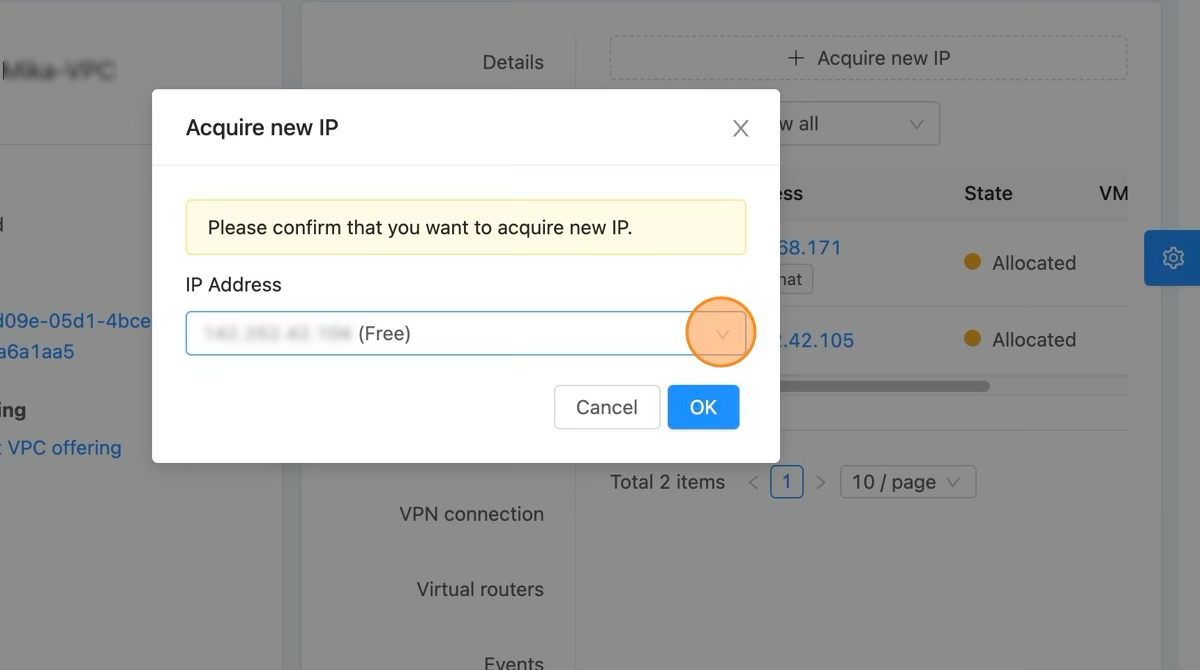
Once the IP is acquired follow the previous steps to enable static nat.
[ On this page ]