Connecting JuiceFS to American Cloud A2 object storage
Last updated: May 26, 2026
This tutorial walks through using American Cloud's A2 object storage as the backing store for a JuiceFS filesystem. You'll create an A2 storage unit and bucket, grab the S3 credentials, and point JuiceFS at them.
For full A2 portal documentation, see A2 object storage.
Create an A2 storage unit
- Log in to the American Cloud portal.
- In the left navigation, under Storage, select Object storage.
- In the top right, click + Create Unit.
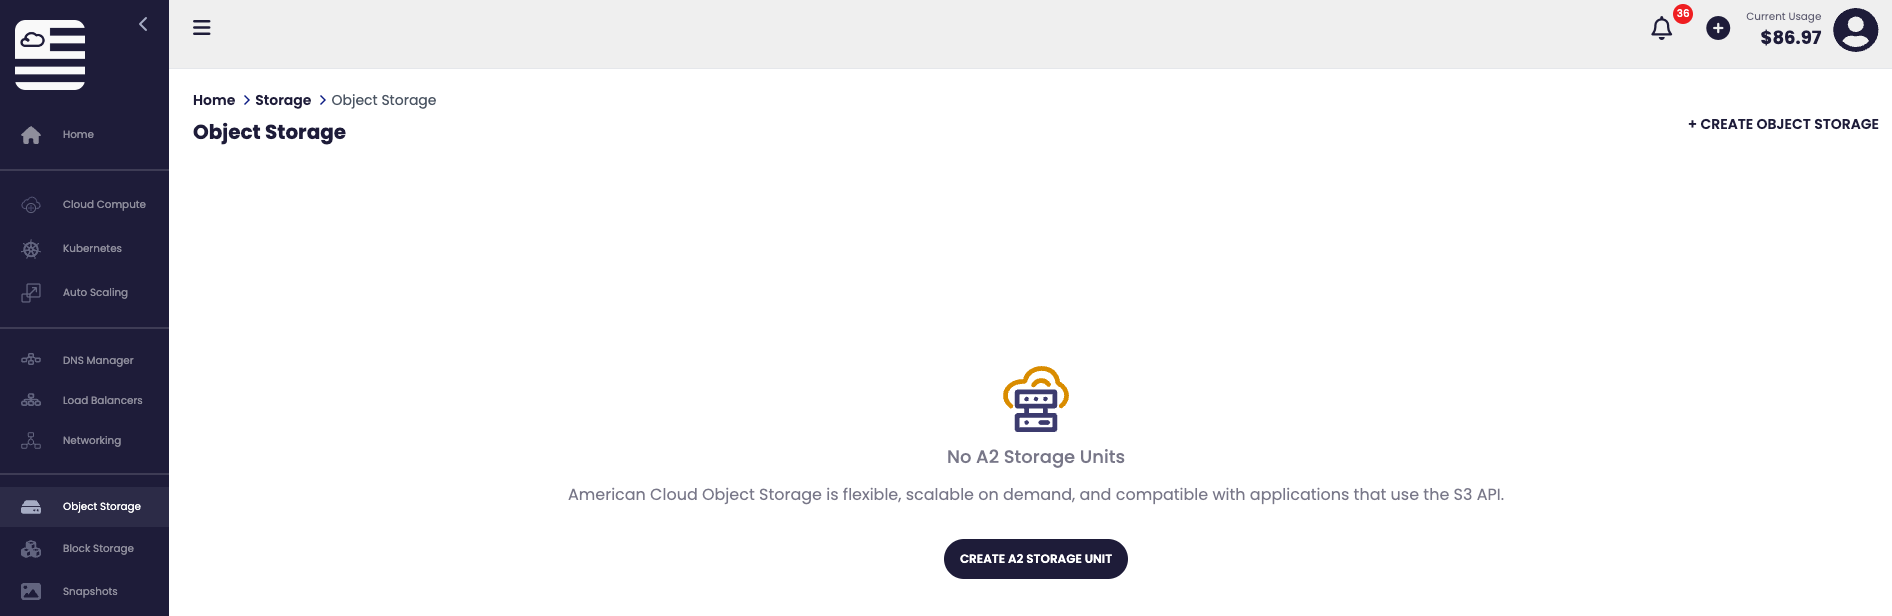
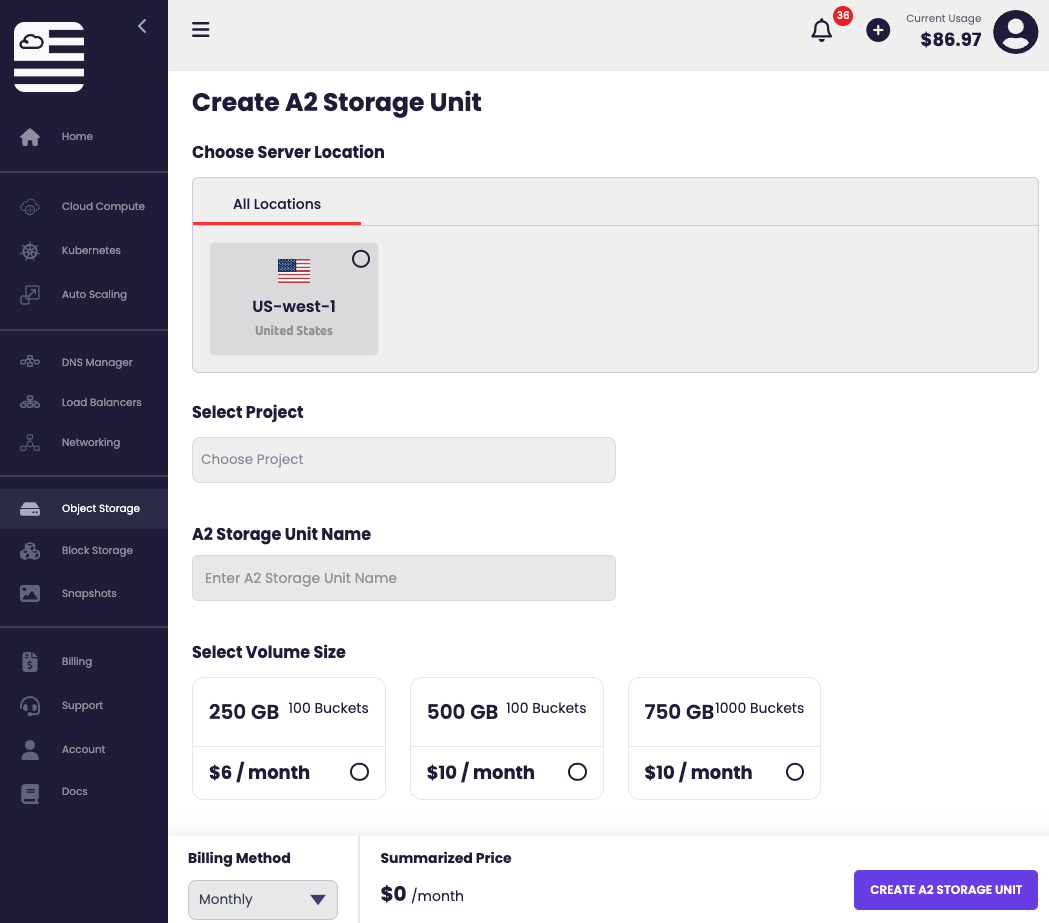
- On the Create object storage page, enter a Name (alphanumeric characters only) and click Create Storage Unit.
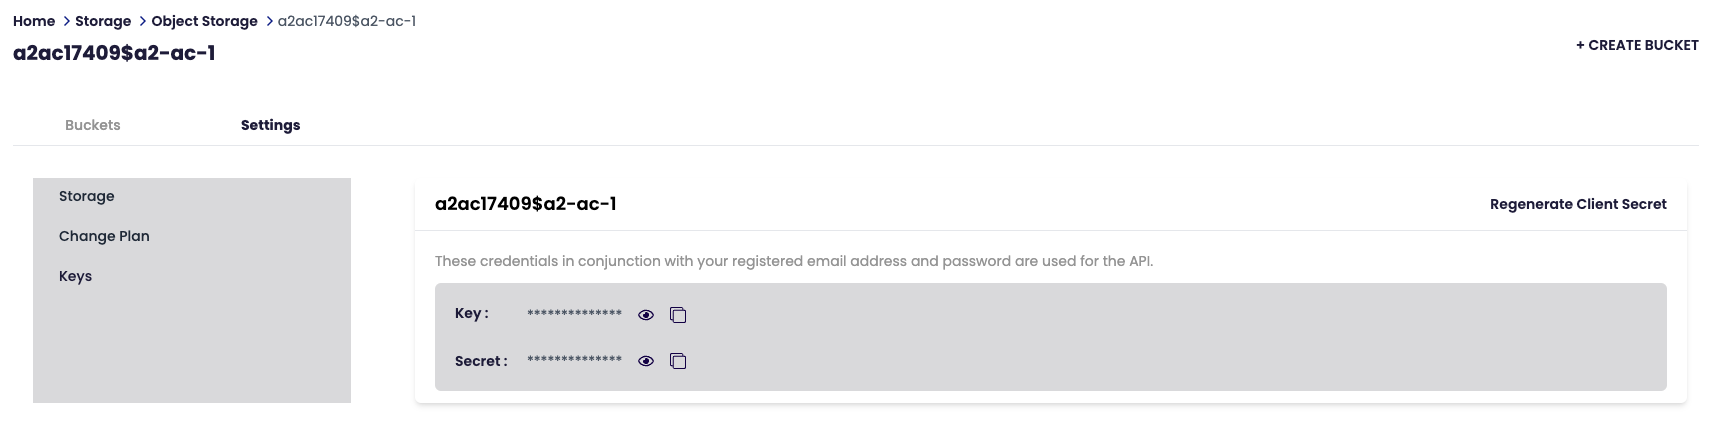
Get S3 credentials
Click the new unit in the storage units list to open its detail page. The S3 Access panel shows the values JuiceFS needs:
- Endpoint —
a2-west.americancloud.com - Access key — click [copy].
- Secret key — click [show], then [copy].
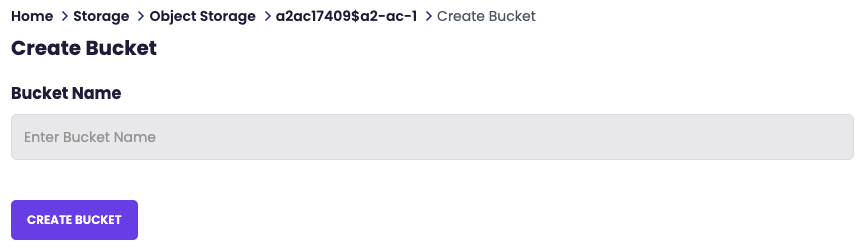
Create a bucket
- On the storage unit detail page, in the Buckets section, click + Add Bucket.
- Enter a Bucket name (lowercase letters, numbers, dots, and hyphens) and click Create Bucket.
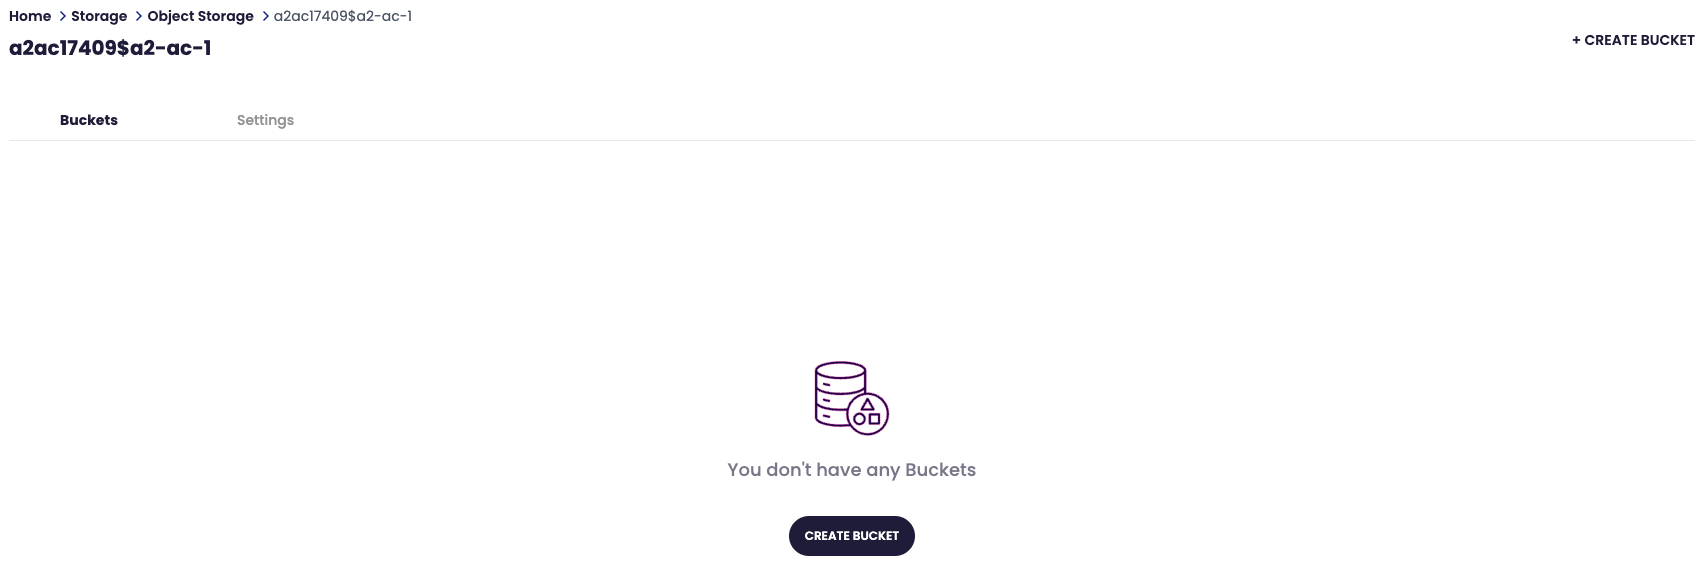
- The bucket appears in the list with its full S3 URL — copy this; you'll pass it to JuiceFS as the
--bucketvalue.
Format the JuiceFS filesystem
From your JuiceFS machine, format a new filesystem backed by the A2 bucket. Replace the placeholders with the values you just gathered:
juicefs format \
  --storage s3 \
  --bucket https://a2-west.americancloud.com/<your-account>/<your-bucket> \
  --access-key <your-access-key> \
  --secret-key <your-secret-key> \
  redis://localhost:6379/1 \
myjfs--bucketis the bucket's S3 URL from the previous step.- The final two arguments are the metadata engine URL (
redis://…in this example; PostgreSQL, MySQL, and SQLite are also supported) and a name for the filesystem.
Note: Older JuiceFS versions use
juicefs create --backend s3 --bucket <name> --endpoint <host>instead ofjuicefs format --storage s3 --bucket <full-url>. The example above uses the current syntax.
Mount the filesystem
sudo juicefs mount myjfs /mnt/jfsReplace myjfs with the name you used in the format command and /mnt/jfs with where you want the filesystem mounted on your machine.
Share over the network
To use the JuiceFS mount as a shared file system, re-export the mount point via NFS, SMB, or any other network filesystem protocol on the host.