Deploy a simple web app with Kamal
Last updated: May 26, 2026
This tutorial walks through provisioning a virtual machine on American Cloud and using Kamal to deploy a simple Dockerized web app to it.
Alert: Kamal connects to the target host as
root. Only enable root SSH on hosts where you fully understand the security implications.
Create a VM
For full VM portal documentation, see Cloud Compute.
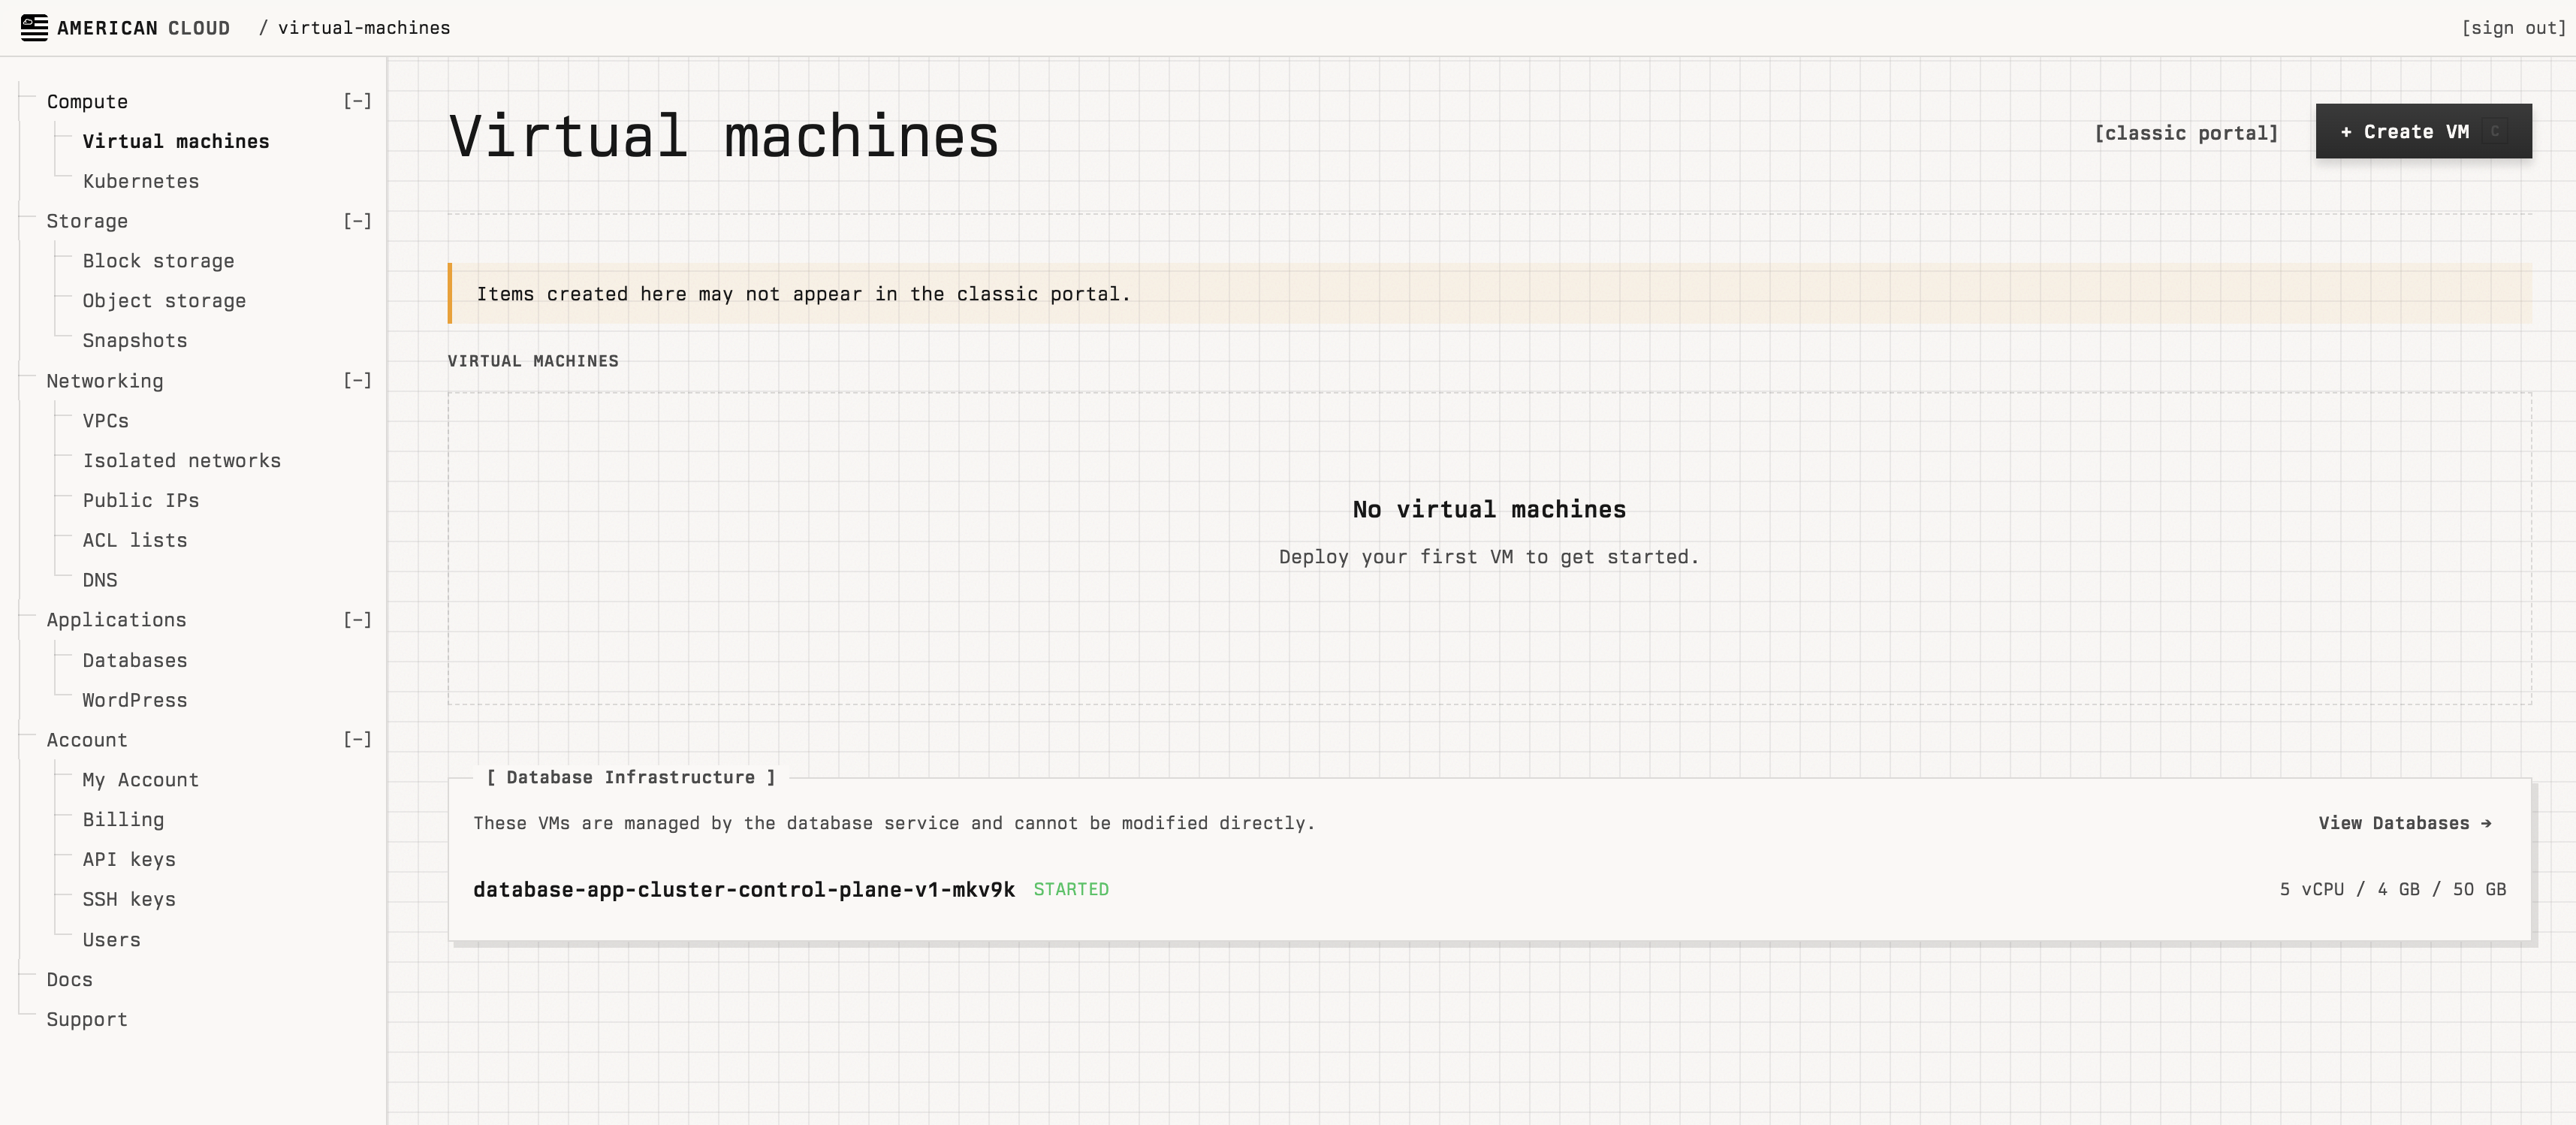
1.) In the left navigation, under Compute, select Virtual machines, then click + Create VM in the top right.
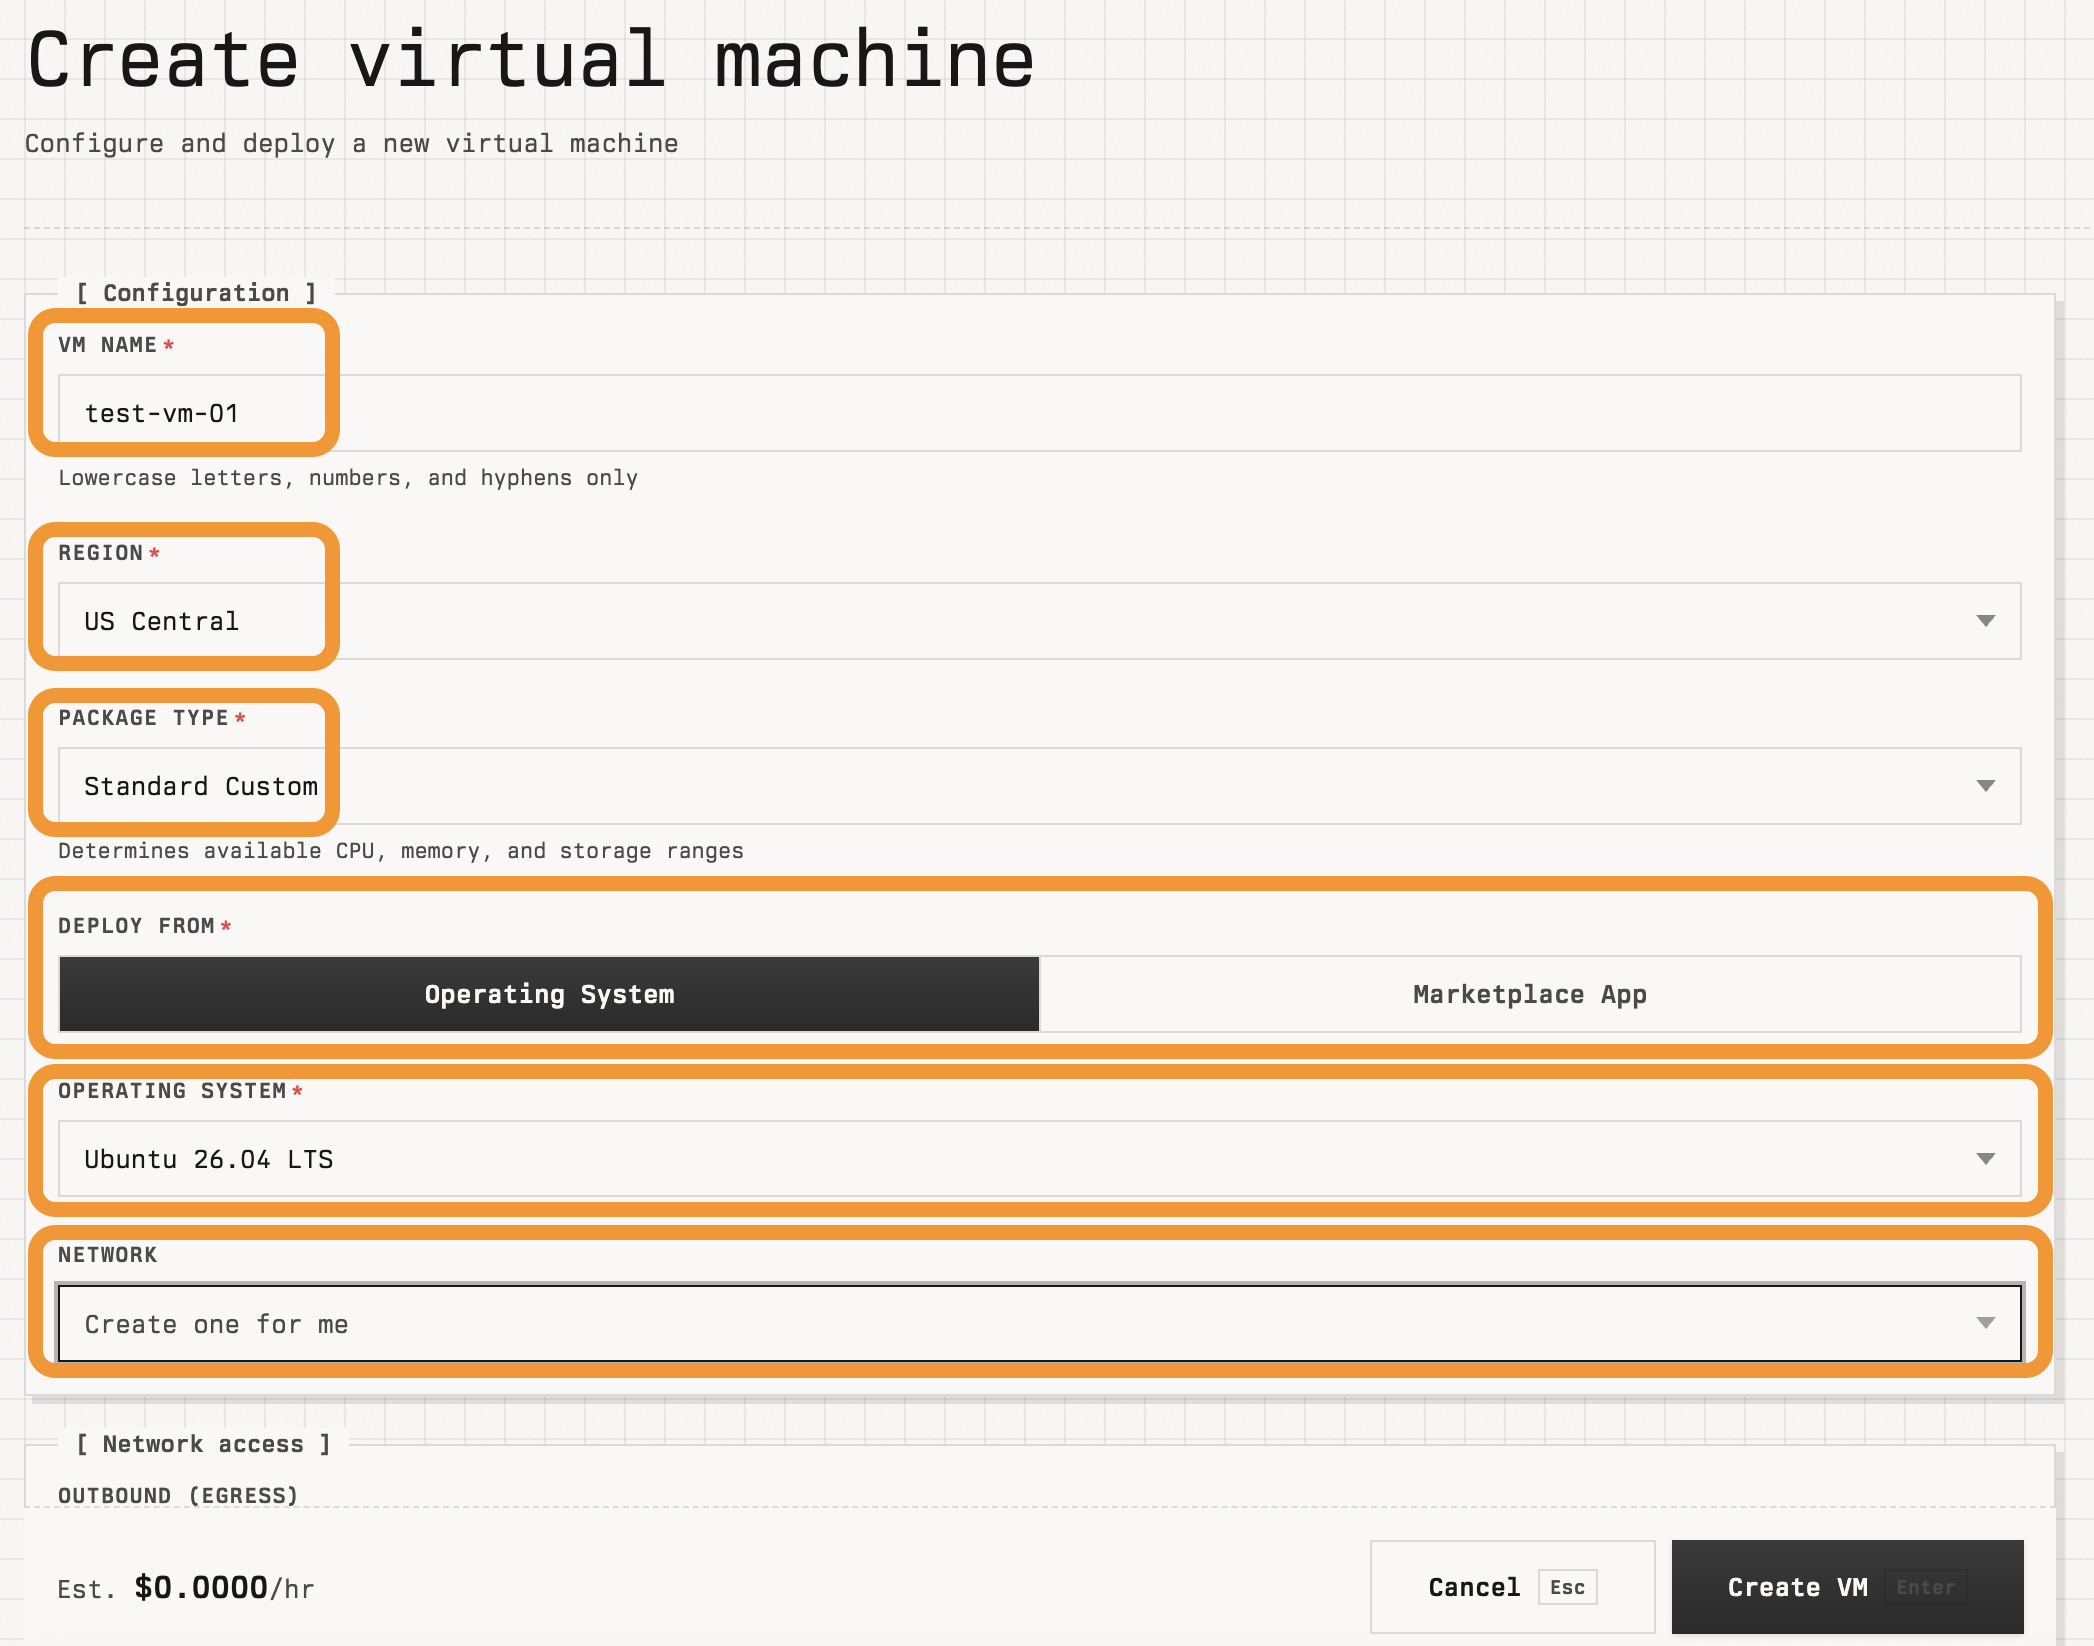
2.) On the Create virtual machine page, fill in Configuration:
- VM name — lowercase letters, numbers, and hyphens (for example,
kamal-host). - Region — for example, US Central.
- Package type — for example, Standard Custom.
- Deploy from — Operating system.
- Operating system — a Linux image (for example, Ubuntu 26.04 LTS).
- Network — Create one for me unless you have an existing VPC.
3.) Set the sliders in Hardware Specifications (CPU, Memory, Root disk) to fit your app.
4.) In Options:
- SSH keys — check the box next to the key you want Kamal to use. (Add a key first under Account → SSH keys if you don't have one. See Managing SSH keys.)
- User data / cloud-init (optional) — if your image doesn't permit root SSH by default, paste the snippet below. Replace
mypubkeywith the same public key you attached above.
#!/bin/bash
echo "PermitRootLogin yes" >> /etc/ssh/sshd_config
SSH_KEY_CONTENT="mypubkey"
echo "$SSH_KEY_CONTENT" >> /root/.ssh/authorized_keys
chmod 600 /root/.ssh/authorized_keys
chown root:root /root/.ssh/authorized_keys
systemctl restart sshd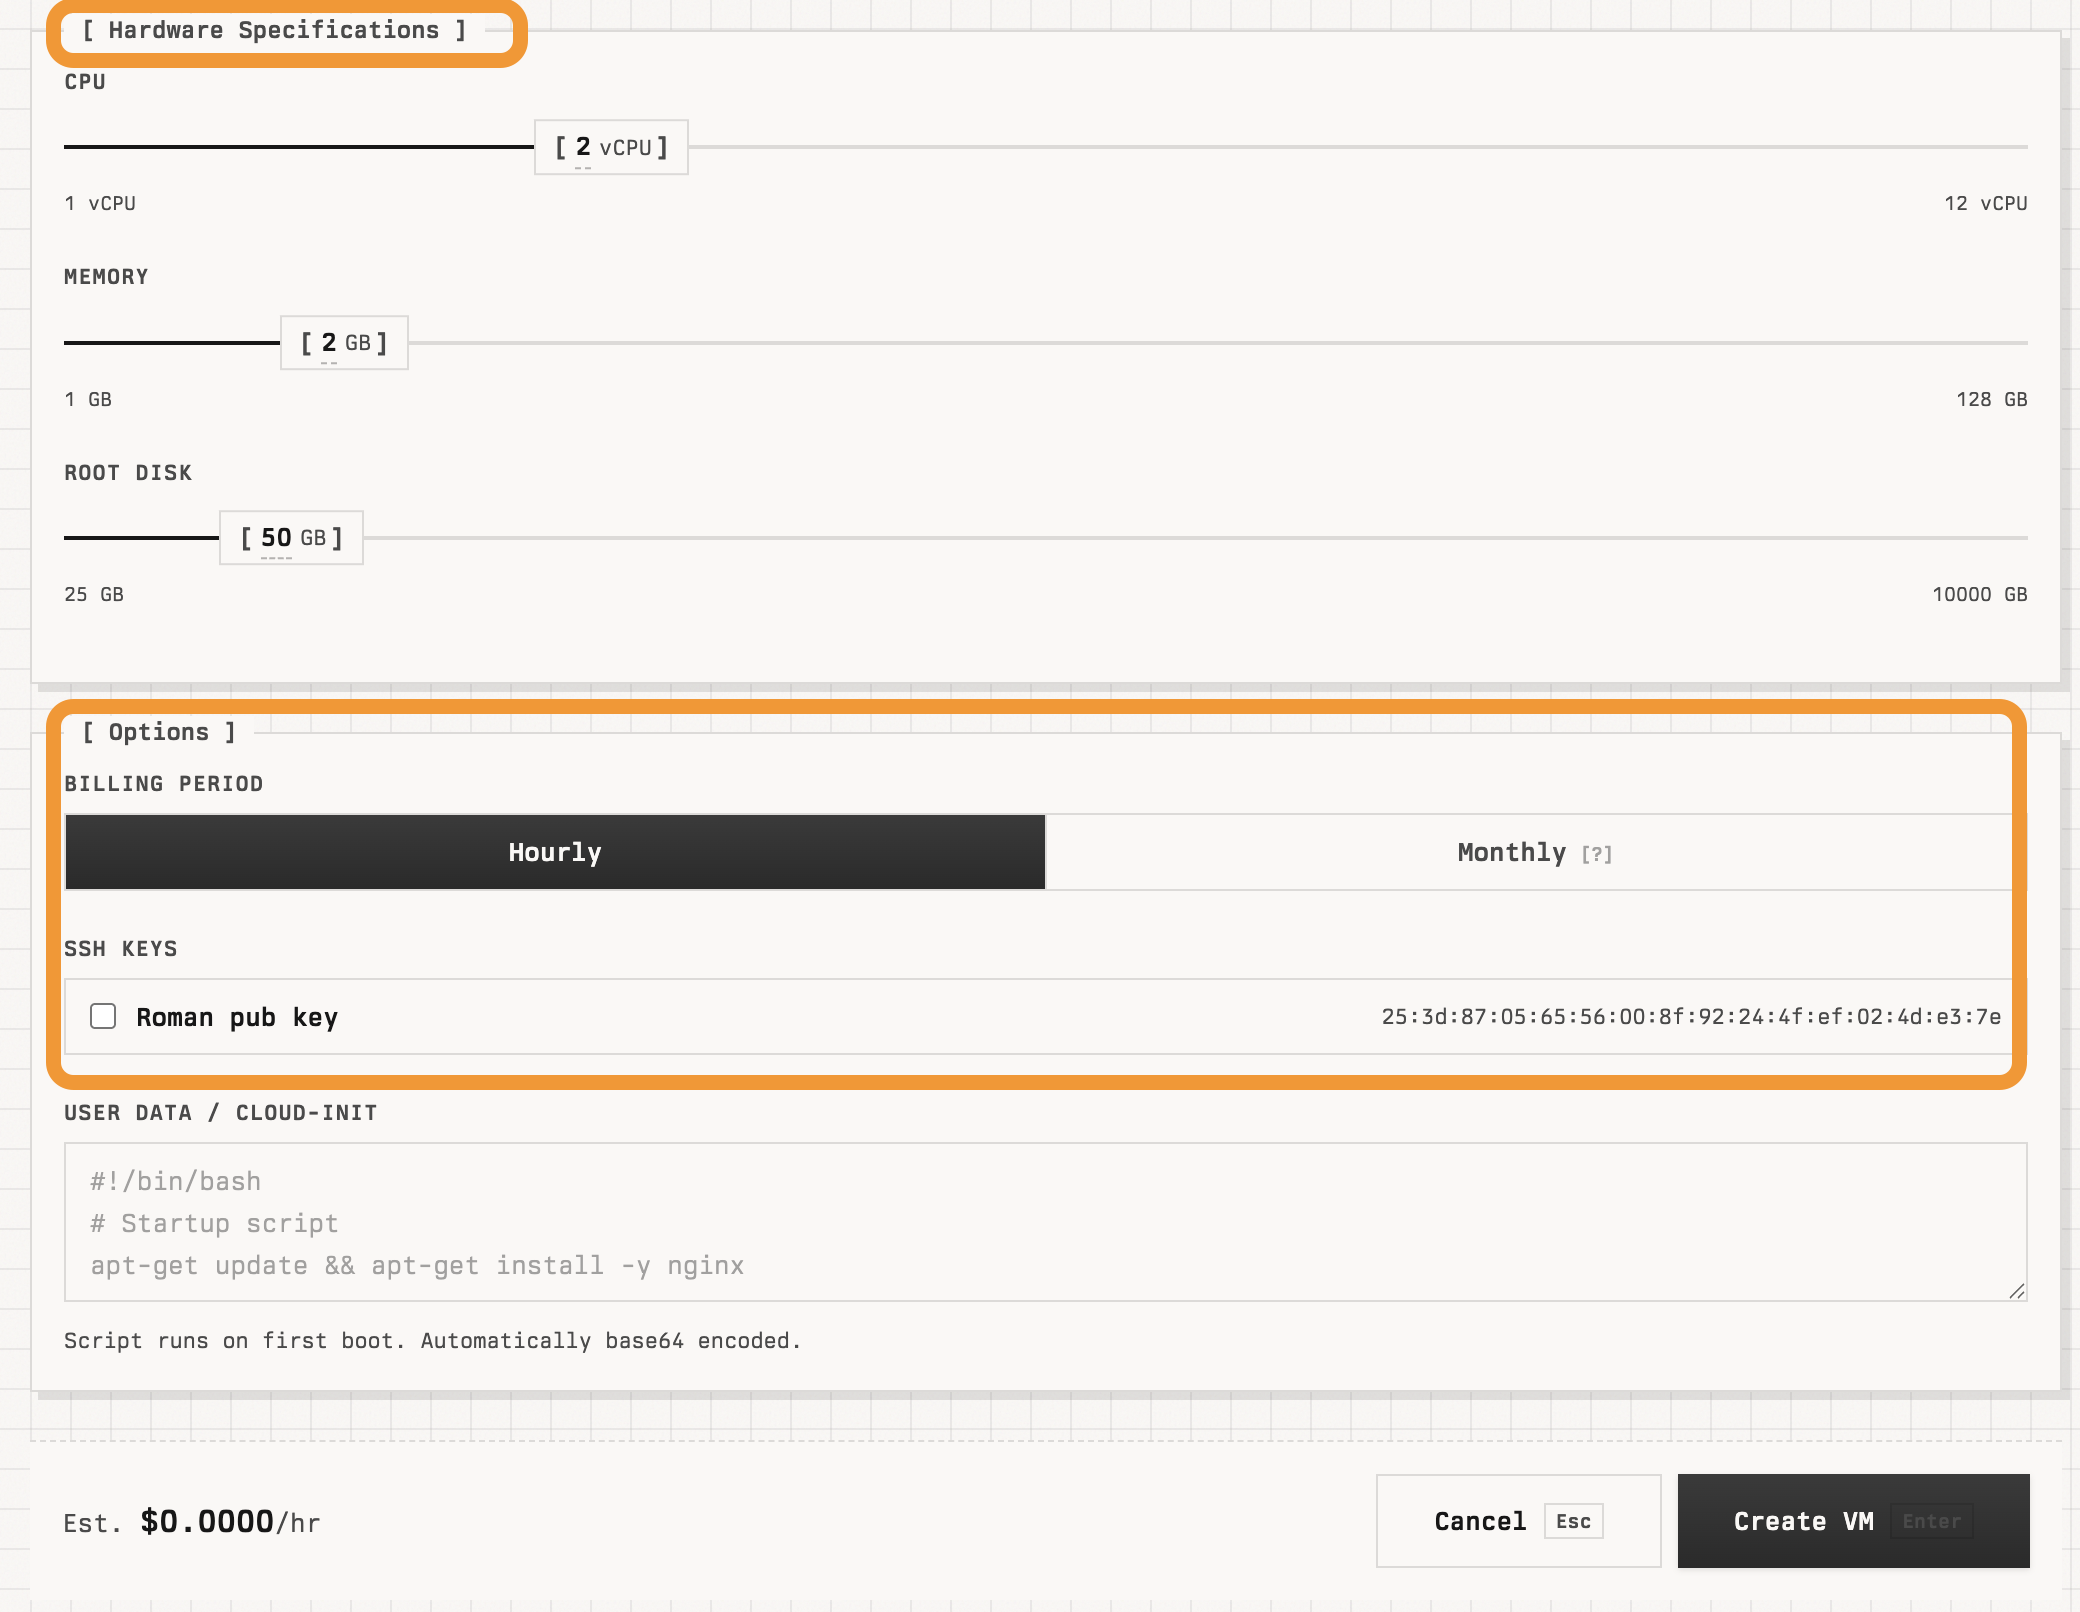
5.) Click Create VM. Once the VM is READY, copy its public IP from the details page.
Confirm root SSH
Test that you can reach the VM as root:
ssh root@<public-ip>If it fails, recreate the VM with the cloud-init script from step 4.
Install Kamal
6.) Now that root ssh access is established on the VM. It's time to install Kamal. There are a couple of prerequisites prior.
-
Docker and buildx is required on your machine. This tutorial is built on Mac so
brew install dockerandbrew install docker-buildxwas utilized. If docker and buildx is not installed a failure will occur duringkamal setup. This step may be different depending on OS. It a relatively quick lookup. -
The private key matching the public one on your VM should be added to your ssh-agent, you can ensure this is the case by running
ssh-add ~/.ssh/kamal_privkey(whatever your key is)
7.) Install Kamal locally by running gem install kamal or set up an alias to run in docker.
- If issues arise in step 7, you'll probably need to update ruby and set the ruby environment.
8.) Choose your container registry (it can be public or private), and create a personal access token with write:packages scope in order to push images to it. We are going to use ghcr.io and a private registry for this example.
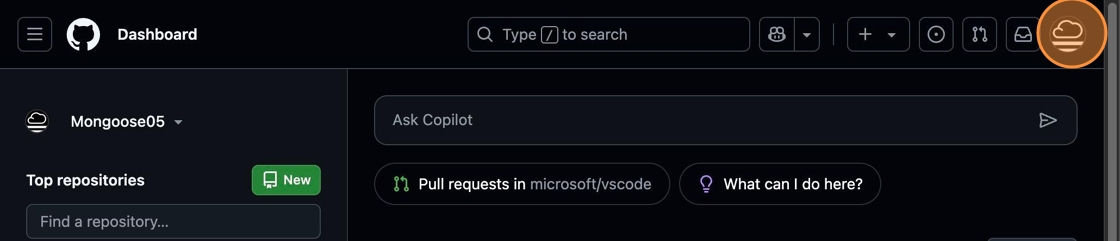
9.) Select user menu in top right corner.
10.) Select "Settings"
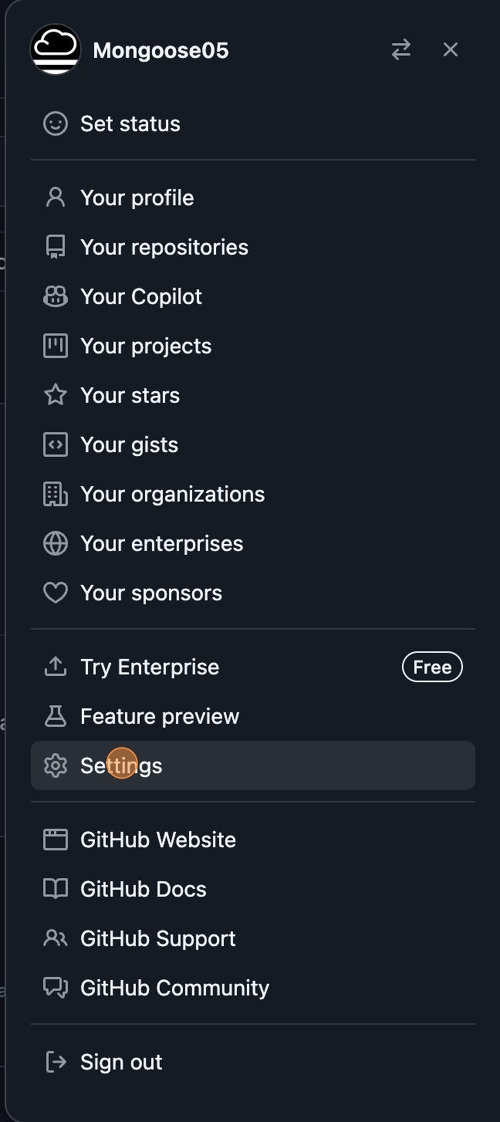
11.) Scroll to the bottom of the menu and select "Developer settings"
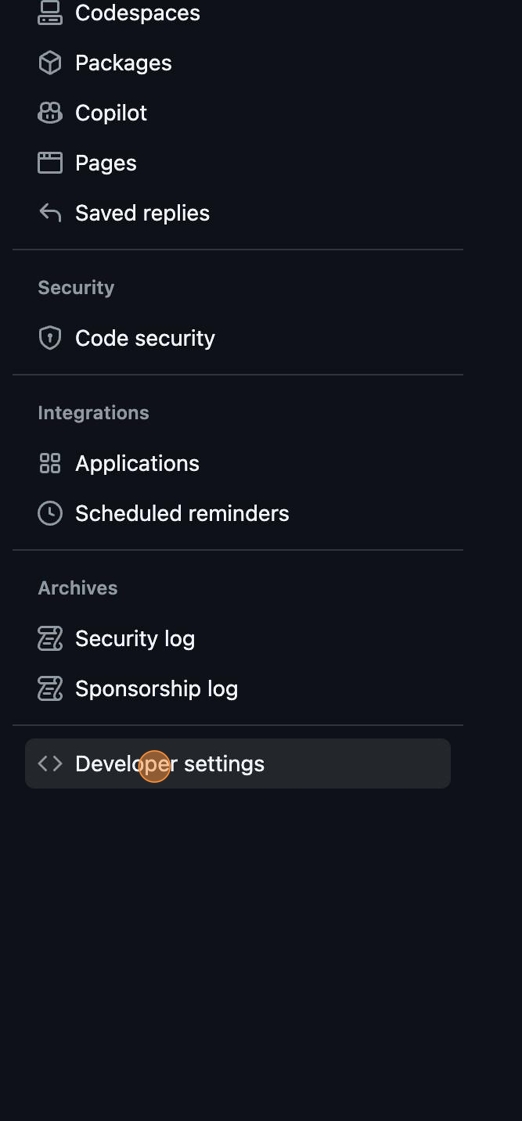
12.) In the next menu select "Personal access tokens". Then in the dropdown select "Tokens (classic)"
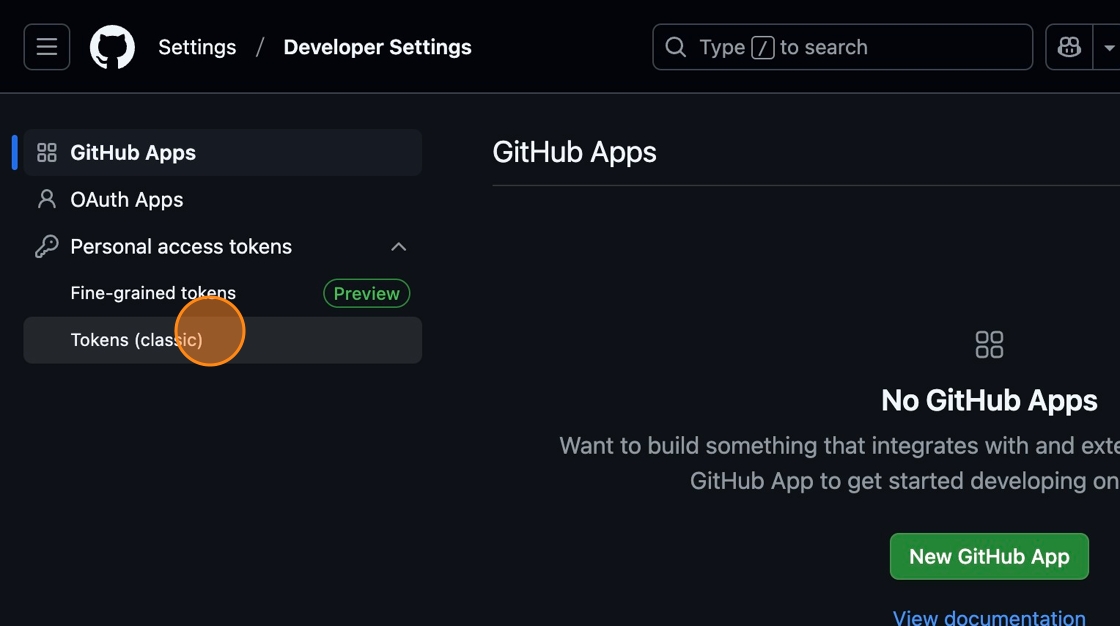
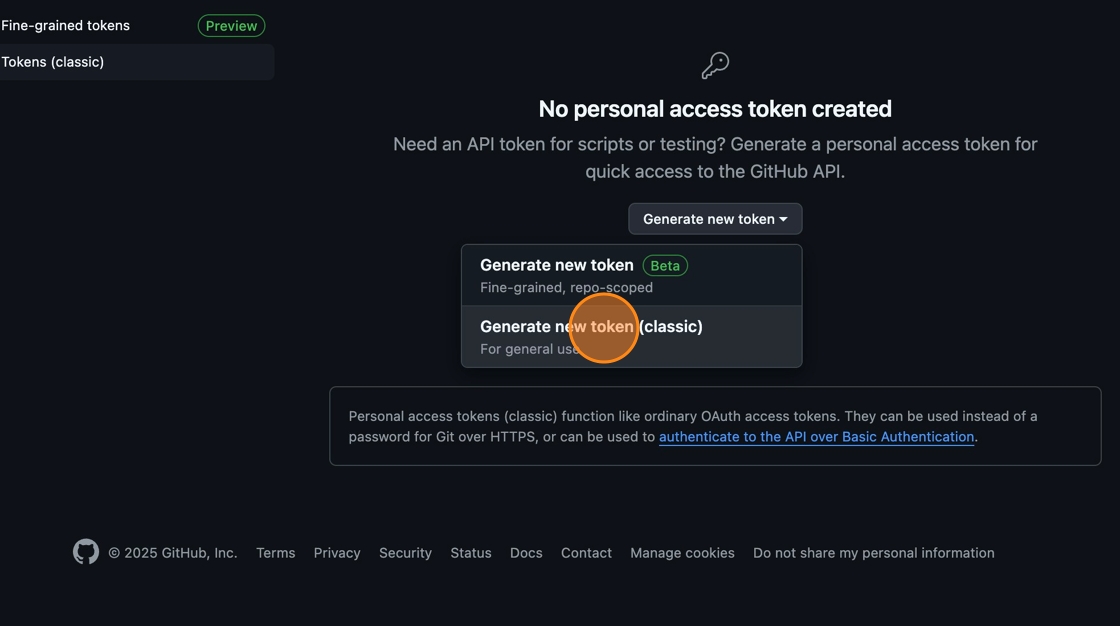
13.) Select "Generate New Token" followed by "Generate new token (classic)" from the dropdown.
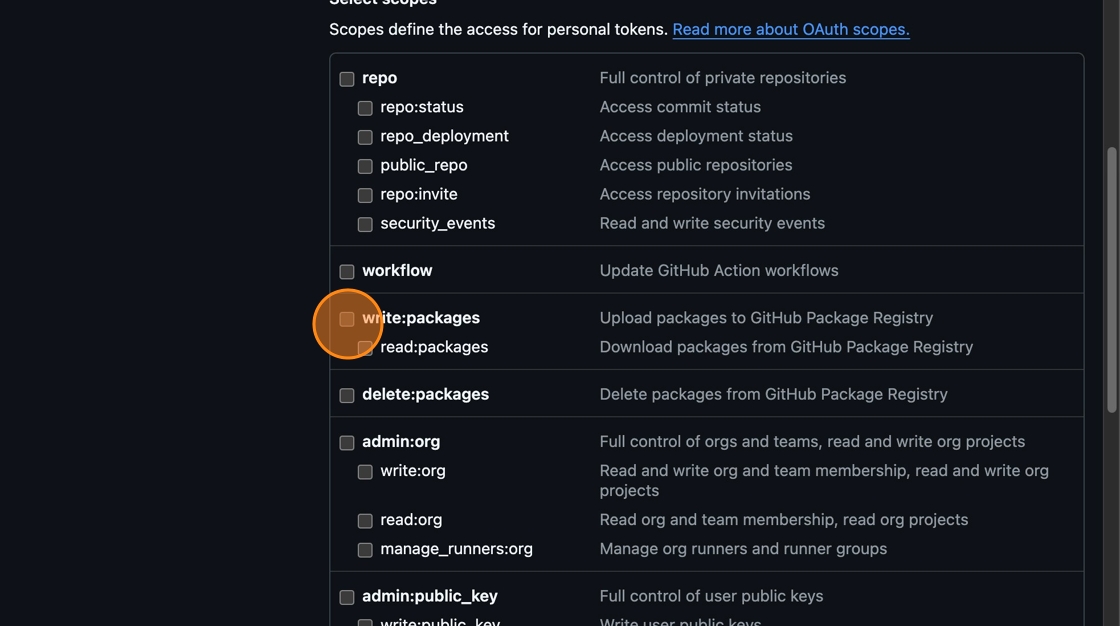
14.) In the section provide a name for the token and at a minimum select "write:packages"
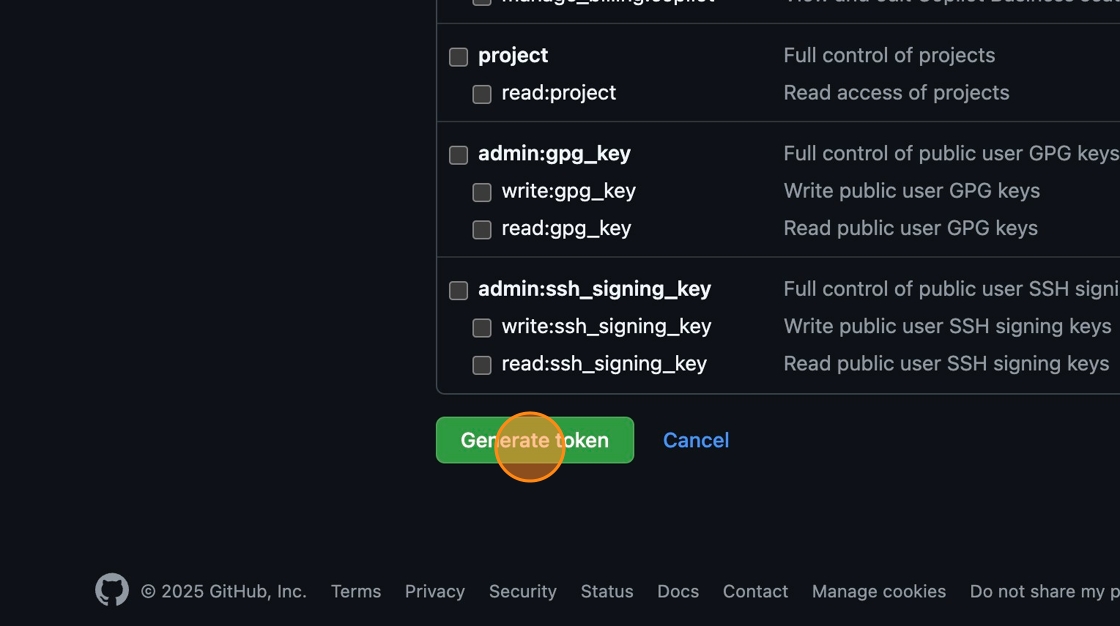
15.) Select "Generate token"
16.) Copy the key to be utilized in the next steps.
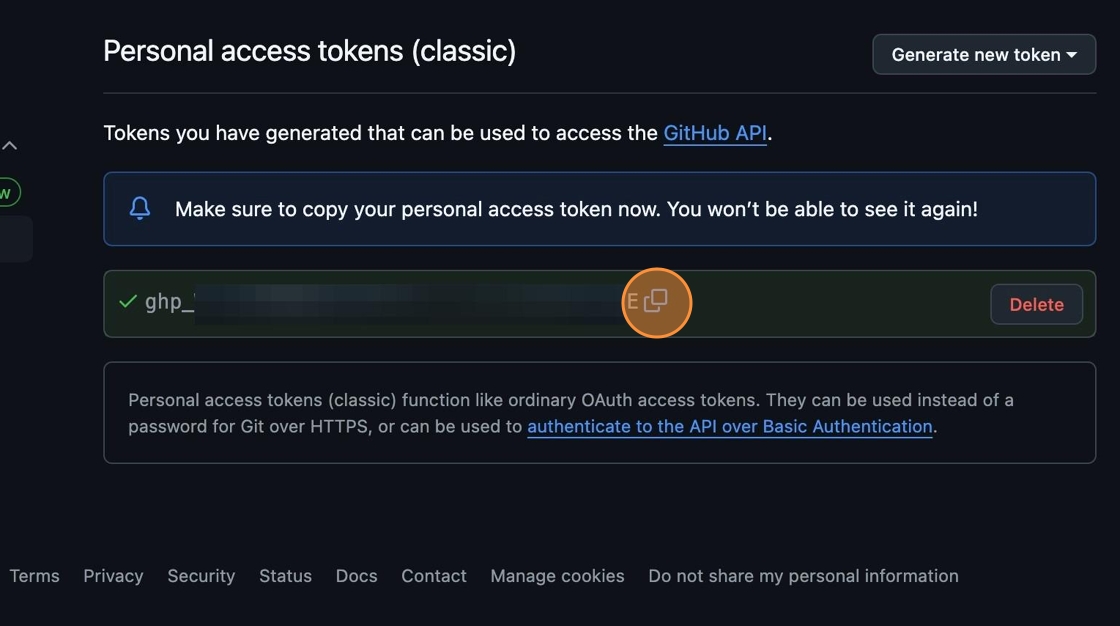
17.) Set your personal access token as KAMAL_REGISTRY_PASSWORD using the export command below:
export KAMAL_REGISTRY_PASSWORD=ghp_12345abcde
18.) Create a directory for kamal in the location you'd like to run it. For my example I'm simply creating on my ~/Desktop utilizing mkdir kamal
19.) Set up your code, if you haven't already. Make sure you include a Dockerfile and that your app returns a 200 ok on the path /up
To test we can use some sample code. Inside the kamal directory create two files Dockerfile and server.ts
20.) server.ts
const server = Deno.listen({ port: 80 });
console.log("Server running on http://localhost:80");
for await (const conn of server) {
  handleConnection(conn);
}
async function handleConnection(conn: Deno.Conn) {
  for await (const requestEvent of Deno.serveHttp(conn)) {
    const url = new URL(requestEvent.request.url);
    requestEvent.respondWith(new Response("Hello, Kamal!", { status: 200 }));
  }
}
21.) Dockerfile
FROM denoland/deno:latest
WORKDIR /app
COPY server.ts .
EXPOSE 80
CMD ["deno", "run", "--allow-net", "server.ts"]
22.) (Optional) Skip this step if you are already using git. If your code is not already committed with git, you can continue by simply using git locally by running these commands
git init
git add .
git commit -m "Initial commit"
23.) Initialize kamal by running kamal init from the kamal directory.
24.) Update your newly created config/deply.yml file located in the kamal directory with the below code. Consult the Kamal docs for more options. Ensure to change line 4&13 to reflect the username of the repository. Line 8 will change to server Public IP.
# Name of your application. Used to uniquely configure containers.
service: kamal-demo
# Name of the container image.
image: github-username/kamal-demo
# Deploy to these servers.
servers:
  web:
    - 192.168.0.0 #<-- Put your VM's public IP here
# Credentials for your image host.
registry:
  # Specify the registry server, if you're not using Docker Hub
  server: ghcr.io
  username: github-username
  # Always use an access token rather than real password (pulled from .kamal/secrets).
  password:
    - KAMAL_REGISTRY_PASSWORD
# Configure builder setup. Make sure you use this if you are building on a Mac.
builder:
  arch: amd64
This mapping should already be present but to double-check that your .kamal/secrets file includes this mapping run: KAMAL_REGISTRY_PASSWORD=$KAMAL_REGISTRY_PASSWORD
25.) Commit your file changes to git
- That's it! You're ready to deploy your app.
26.) Run kamal setup to begin the build on the host machine.
27.) Verify your app is running on your VM(s) by logging into your VM and checking the app
curl -X GET "http://localhost:80/"
This should return a Hello, Kamal!
It's important before making your app public to utilize system hardening techniques as they're not installed by default. Click here for a good article of reference.